
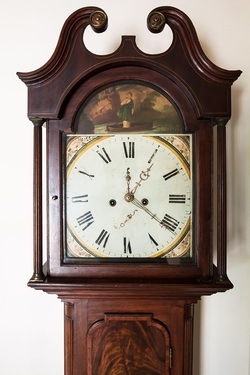
II. Set up the clock case:
-If your clock has cables and pulleys instead of chains, there are probably Styrofoam blocks holding the pulleys in place. Don’t try to remove these yet. After the clock has run for a day, you will be able to easily lift the Styrofoam blocks off of the pulleys. IV. Now that you've leveled the case and unpacked the movement, it is time to hang the pendulum and the weights. Remember to wear gloves to protect the brass. Also, if your clock has cables, be careful that the cable doesn’t slip off of the pulley while you are hanging the weights.
2 Comments
My grandma recently gave me an old clock that's been in our family for a while. I want to get it set up, so I'm glad that you point out that you should leave any Styrofoam blocks on the pulley until a few days of having the clock run just to make sure that it's all working fine. Unfortunately, I think that one of the cables has broken in it. I'll have to find someone who could fix that and then use your tips to get it set up. 12/17/2019 04:22:47 pm
Thanks for explaining how there are tabs that must be lifted before the wooden bonnet can be slid off the clock. My dad is thinking about getting a grandfather clock for his home so that he can add an authentic flair to his home. He would love to get one from a professional that would help him repair it if it ever broke. Your comment will be posted after it is approved.
Leave a Reply. |
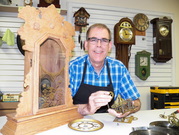
Mike SarchetI am passionate about restoring and repairing antique clocks. In this blog I answer commonly asked questions about how to care for your clock. Frequently Asked Questions:
|

Email: mike@wiseowlclock
repair.com |
|